Zoom H2n: pro tips and tricks
Everything I wish I knew when I got my H2n
September 24, 2021
Everything I wish I knew when I got my H2n
September 24, 2021
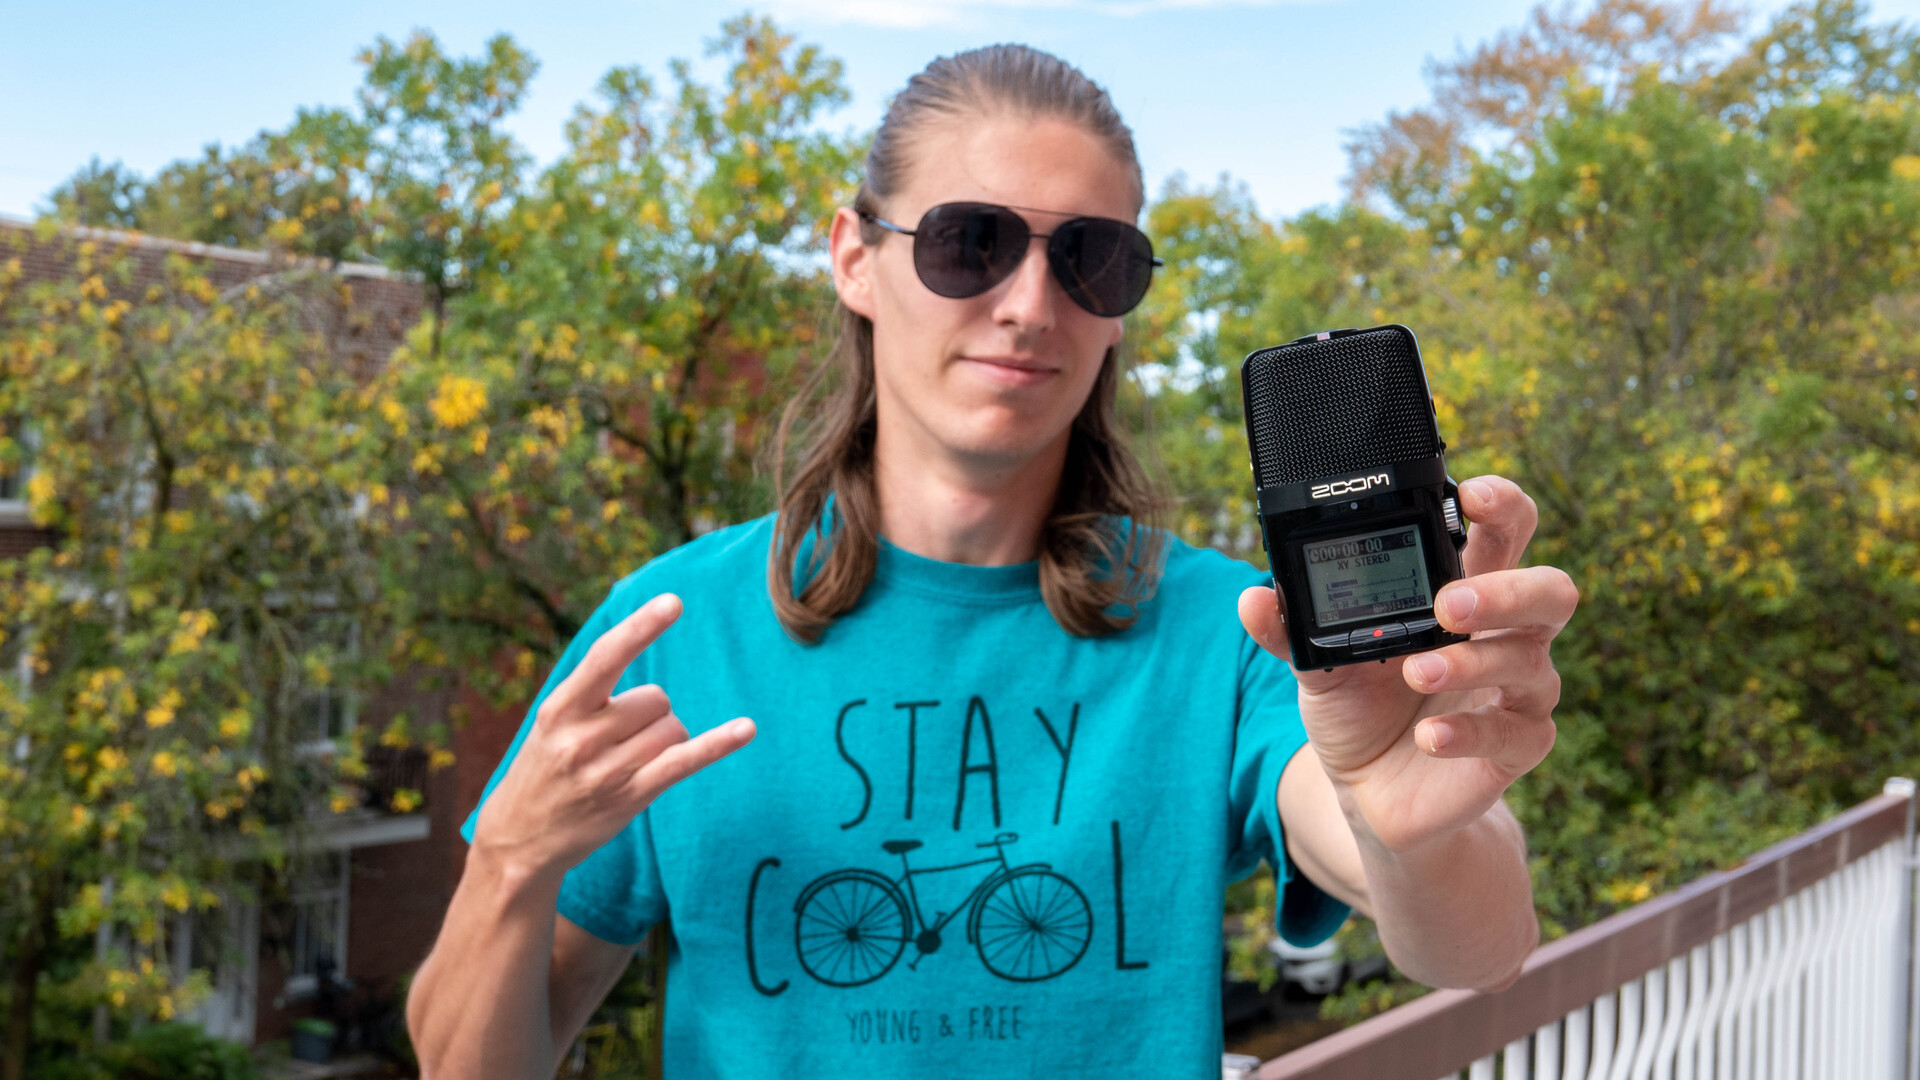
The Zoom H2n is an awesome portable microphone with a long battery life. It’s very versatile and delivers a solid sound.
In this post, I’ll give you all of the tips and tricks that I discovered over the years using my H2n, that made me more efficient at using it and allowed me to do even more with it.
But first, I’ll give you a little bit of backstory about how I got there in the first place. Feel free to skip it.
The reason I got it in the first place was put it in my motorcycle jacket while I ride to record clean engine sound for my GoPro recordings. This is how Royal Jordanian, a famous motorcycle YouTuber, uses his H2n, and his results are remarkable.
I used to have a Zoom H4n because I liked that it could act as an external sound card where I could plug XLR microphones and jack instruments as well, but it was too big to fit in my motorcycle jacket, which turned out to be what allowed me to get the best sounding audio on a motorcycle.
Anyways, because I had that mic around when I started making more YouTube videos, it became my main device to record voice in various settings (indoors, outdoors, multiple people interviews, live streaming). I also use it to record acoustic instruments.
While specialized microphones might give you even better results in specific situations, the H2n has allowed me to record high quality audio in an impressively wide set of settings.
After years of using it, I have a couple of tips to share with you that will make you even more productive with your H2n and enable you to do even more with it.
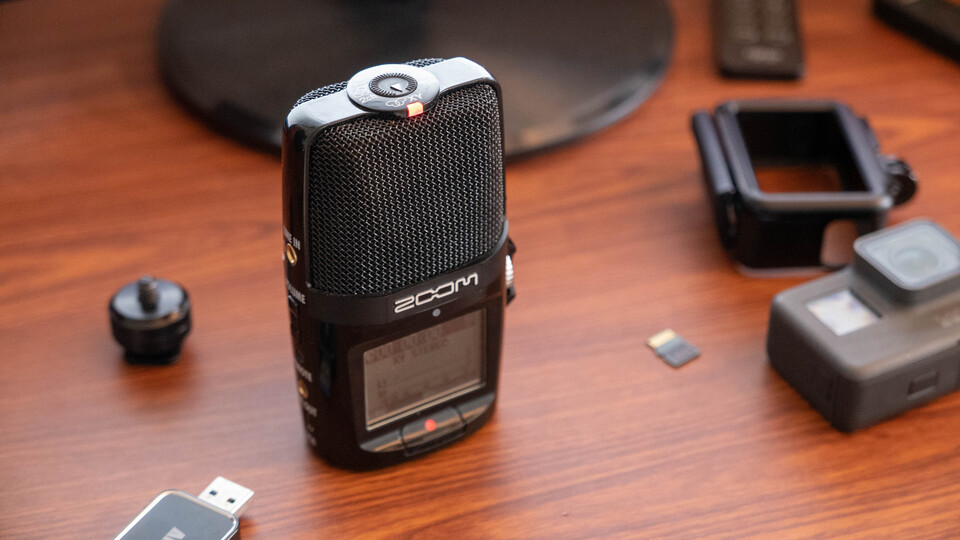
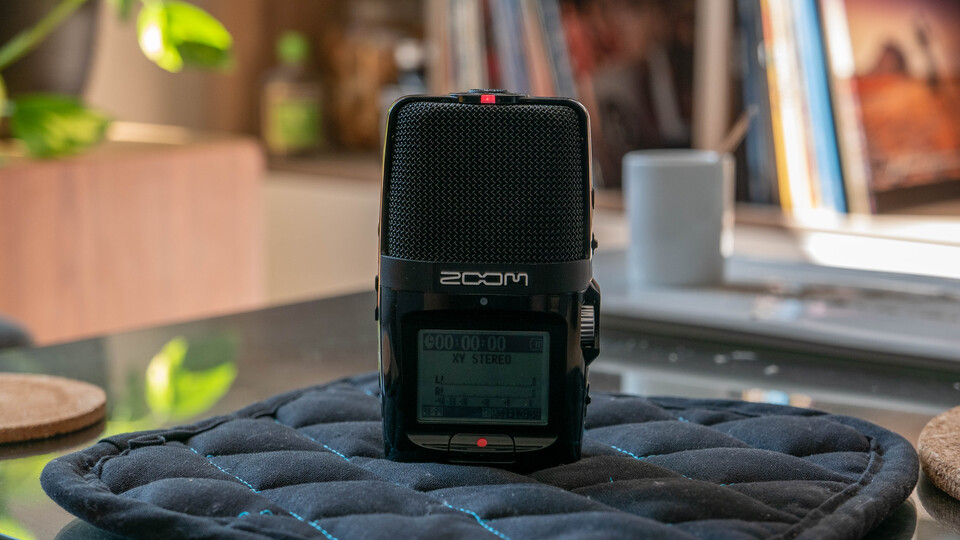
The H2n has 5 built-in microphones and lets you use them in the following settings:
I personally use X-Y stereo the vast majority of the time. If you don’t know which one to chose, I would default to this one.
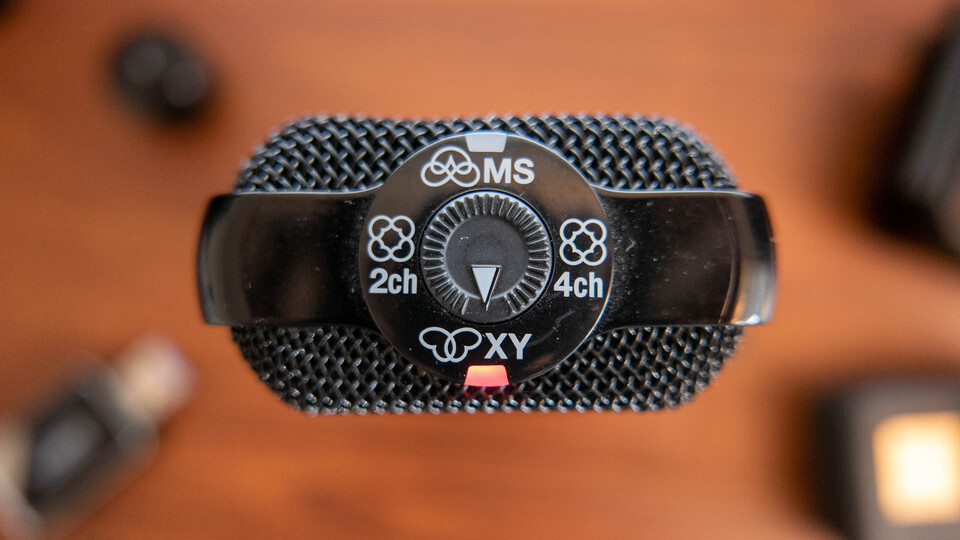
It’s going to record from the front of the Zoom (where the screen is), which is convenient because you’re facing the front of the mic when you’re recording. This allows you to easily monitor the levels on the screen, and puts the record button right in front of you.
That being said the H2n is well designed because the clipping light on top is visible from both sides, meaning that if you want to record in M/S mode, you’ll still see the light while facing the back of the Zoom!
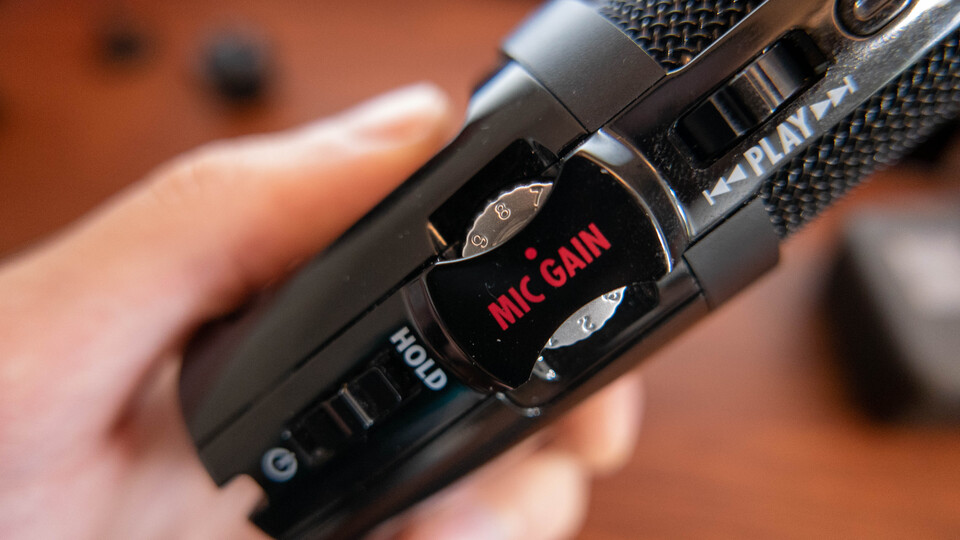
When I first got my H2n, I wasn’t sure where to put the gain. My usual rule of thumb with gain is to put it as high as possible at the source so that the highest peaks I plan to have are gonna be close to 0 dB, but won’t clip.
Most of the time, I mount the Zoom on top of my camera, or I put it on a surface about an arm’s length in front of me. In those conditions, I found that leaving the gain on 8 all the time gave me the best results. It’s perfect to record my voice clearly and any meaningful context sound, without clipping, and leaving enough headroom for any reasonable surprise peaks.
Because it stays there most of the time, I ensure that all the recordings that are made in similar conditions will have consistent levels, so that I don’t have to adjust them one by one in post. I just boost the gain a bit more at the track level, and add some compression to avoid unnecessary peaking.
So I always leave my Zoom with a gain of 8 by default, and if I’m in a recording setting that differs from my usual use case, like singing very close to the mic through a pop filter or recording an instrument, I’ll go back to step one where I try to get the gain as high as possible while making sure it doesn’t clip during the highest peaks I plan to have. FWIW in those settings, I rarely needed to go below 6.
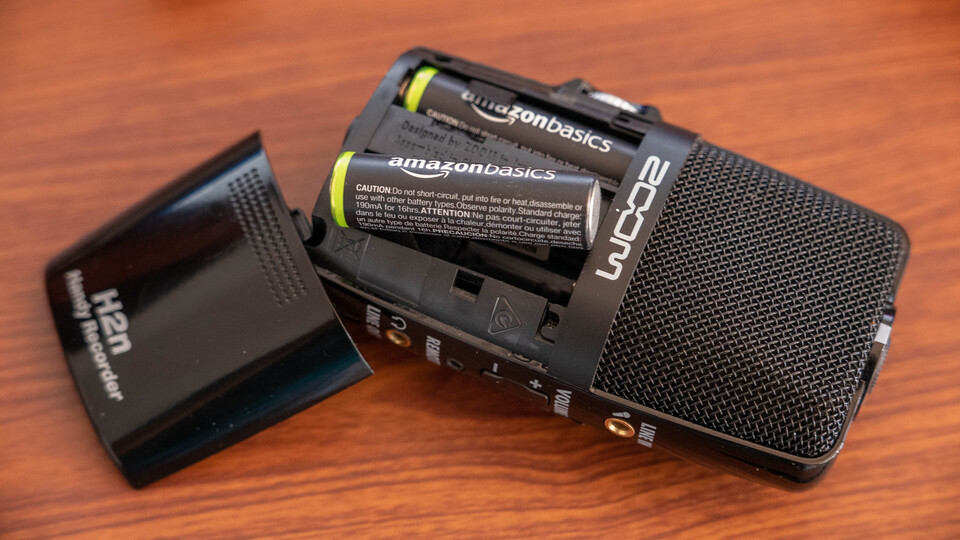
You might have noticed that the H2n internal clock is reset when you remove the AA batteries to change or recharge them. It’s pretty frustrating to have to configure the date and time again every time you recharge the Zoom!
But there’s a neat trick that I’ve found on Reddit. If you change the batteries one at a time, e.g. without ever having no battery in the Zoom at all, it will keep the clock intact!
By default, the H2n names files like ZOOM0001.WAV, incrementing the
number for every new file.
This is fine with me, but every time I empty the SD card, the file
resets to ZOOM0001.WAV! There’s no persistent internal counter like
with my camera.
This is annoying because I end up with conflicting filenames, and I can’t uniquely identify a specific Zoom recording by its name. Not great.
If you want to keep incrementing the number after wiping your SD card
clean, just leave the latest file you recorded there! For example if
you recorded all the way to ZOOM0363.WAV, just leave that file there,
and the next one to be recorded will be called ZOOM0364.WAV.
If even this single file is large enough that you want to remove it as well, you can drop an empty file instead with the same filename, and that’ll do the trick. 👌
But beware, if you ever reach ZOOM9999.WAV, the H2n will not let you
record any further and will just error with DATA FULL, even if there’s
still technically enough free space on the SD card.
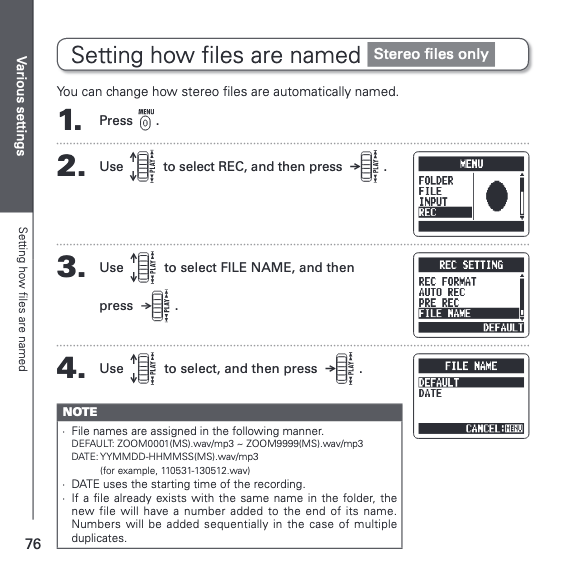
For this reason, and also because it’s even easier overall, I recommend switching to naming files after the date, which is something that I didn’t know was possible until very recently!
If you want something more deterministic to name files that the default strategy of incrementing a counter that resets every time you empty the SD card, I recommend switching to using the date file naming strategy instead.
You’ll find it from the MENU button on the right, in REC, FILE NAME, and set it to DATE there.
Because I often record YouTube videos, I like to mount my H2n on top of my camera to get high quality audio in my videos.
I know most YouTubers use the Rode VideoMicPro or one of its declinations, but since I already had the H2n, I didn’t want to bother buying a new mic for video.
It turns out the H2n can easily be mounted on top of a camera as well, with the help of a cheap hot shoe adapter!
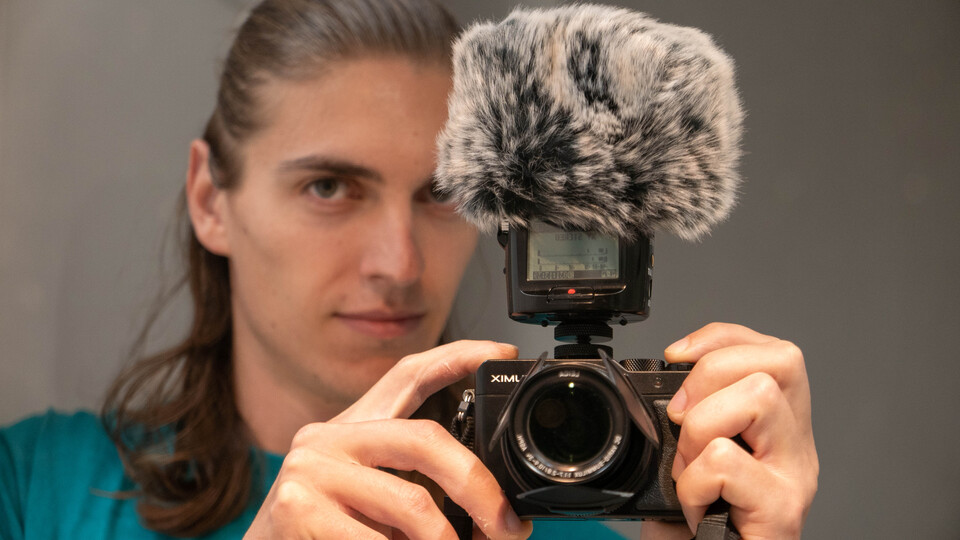
Note: in that setup, I noticed that the H2n picked up noise from my camera strap rubbing and bouncing on the camera body and tripod when moving around, e.g. when vlogging.
To avoid that, make sure to remove the camera strap before you record, if you usually have one attached!
On my camera it’s a bit annoying to do, but definitely worth it to have a clean sound. I’m looking forward to buying the Leash by Peak Design, even though it’s a bit more expensive than what I’d like to pay for a camera strap, it’s super simple to attach and detach and that would make my life much easier.
Edit: I ended up buying a simple (and much cheaper) quick release connector from Amazon which does wonders with the original strap from my camera.
A wind muff is a must for outdoor recording especially if it’s a bit windy. This is the one I use, it’s for the H4n but works perfectly on the H2n as well!
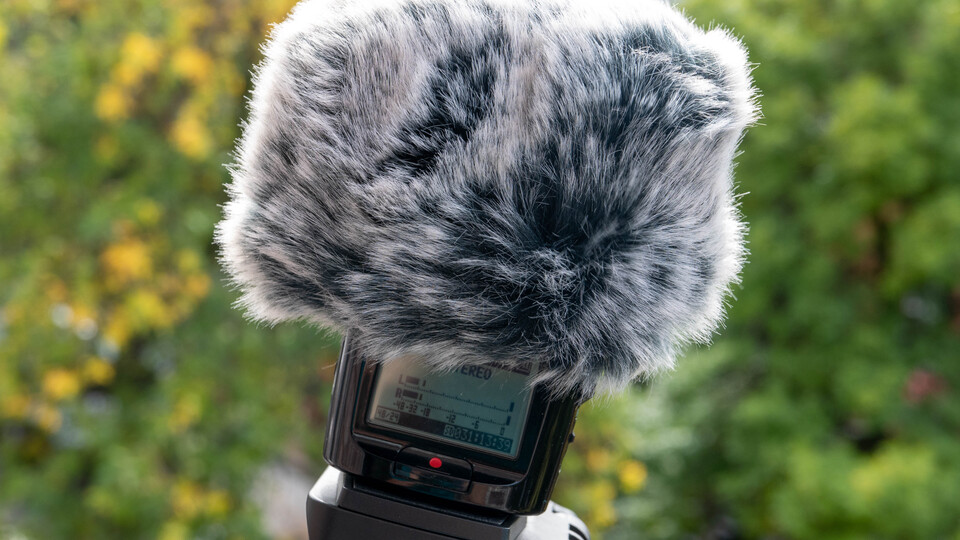
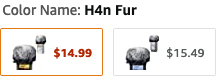
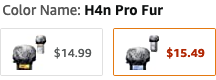
Note: if like me you’re confused between the “H4n Fur” and “H4n Pro Fur” variations and don’t know which one to pick, keep in mind that it’s “H4n” and “H4n Pro” furs, not a “Pro Fur™”. 😂
Zoom also provides one as part of their H2n accessory pack, and if you’re going to buy a few of the items that are part of it, it might be cheaper to just get the pack!
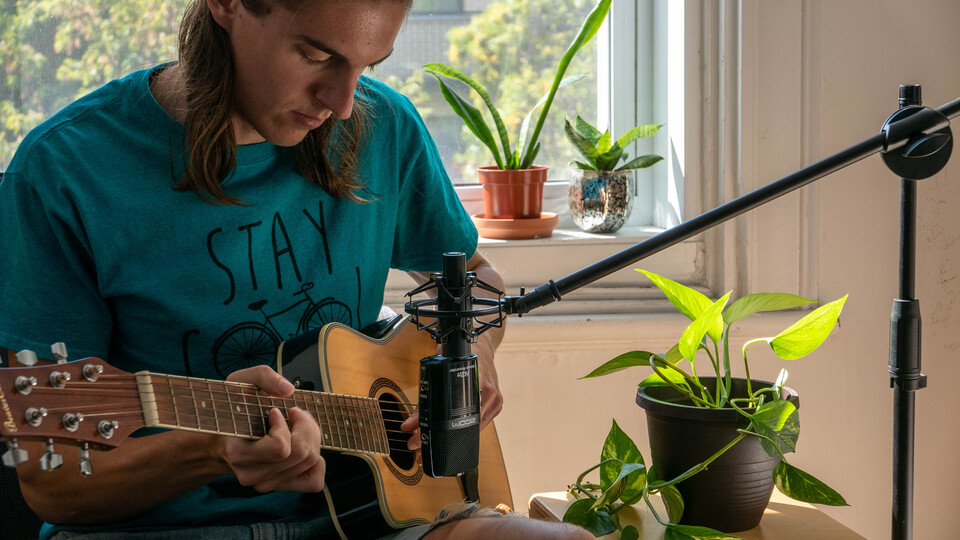
Another thing that’s part of the accessory pack that I didn’t get but probably should have, is the mic stand adapter.
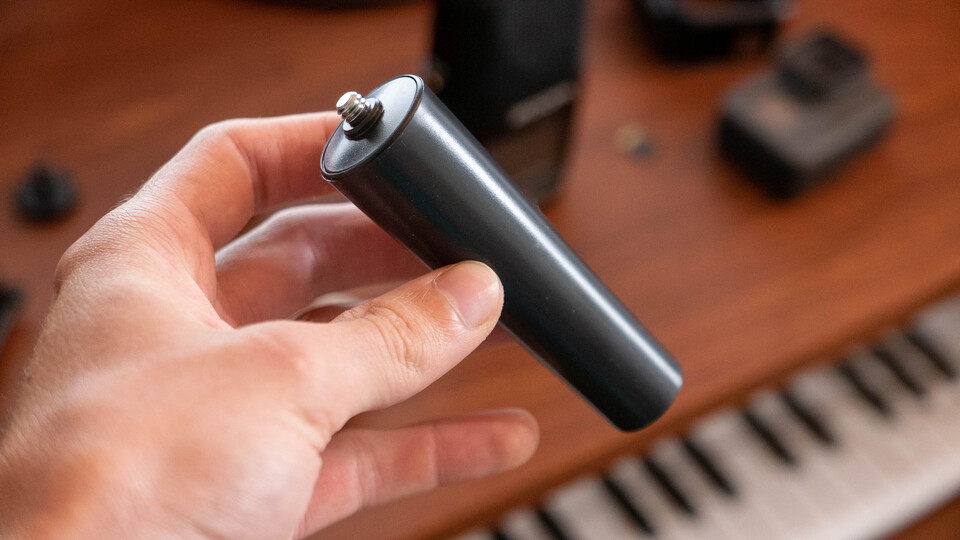
It allows you to mount your H2n directly on a mic stand, which is very practical if you want to record high quality audio while singing directly into it, recording a podcast, live streaming, voice-over or recording acoustic instruments.
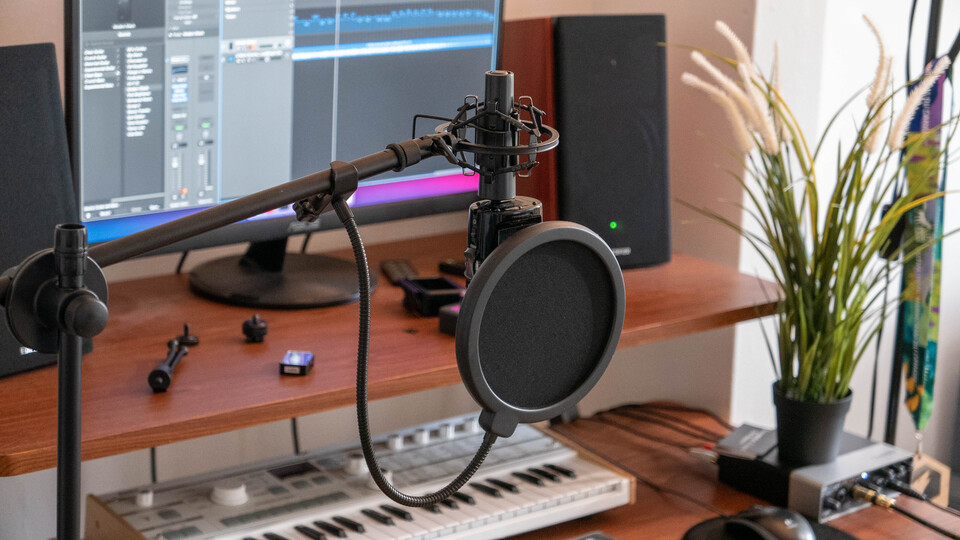
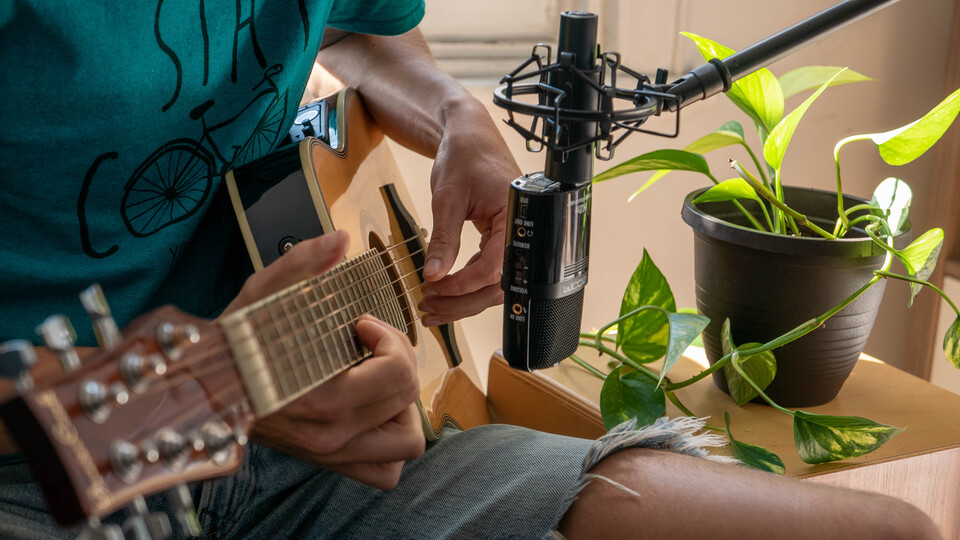
This is the stack that I personally use for this kind of work and I’m super happy with it:
Here’s an awesome article on why a shock mount and pop filter are important if you’re not sure if you need them or not.
If you have the proper cable, you can connect your H2n to your computer via USB and use it as an audio interface, meaning that you can capture sound from it directly from a screen recording or from your DAW!
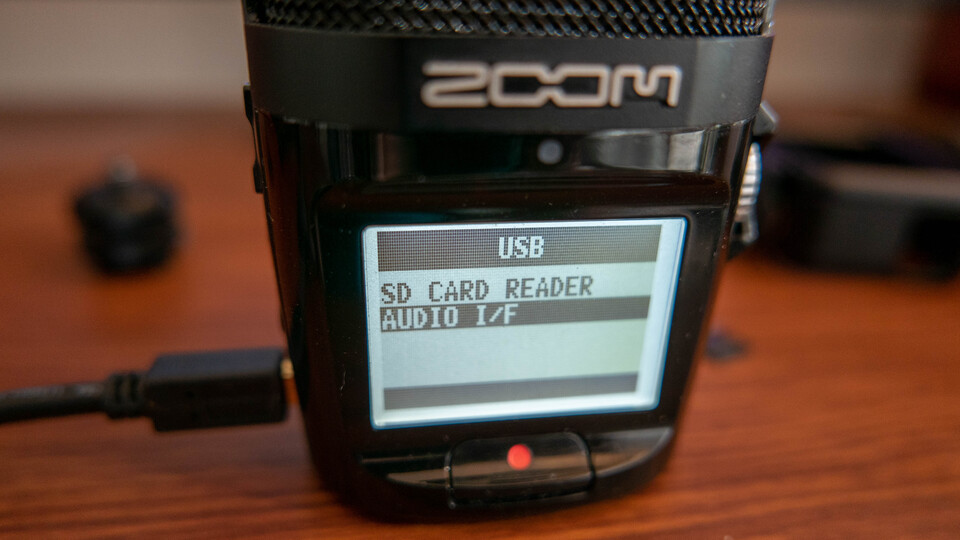
They don’t seem to mention it anywhere though but keep in mind that you specifically need a Mini-B USB connector on the H2n side (which is not that common).
Again, this is the cable I use, but if like me you’re gonna need so many accessories that turn out to be part of the H2n accessory pack, you might as well get that in the first place. That being said the cable I bought is significantly longer than the one they provide in the pack and that comes in handy to have a bit more moving freedom during studio sessions.
Here’s what it looks like once plugged, to set it as input device inside Logic:
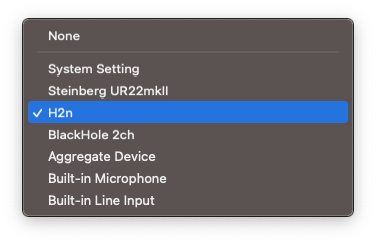
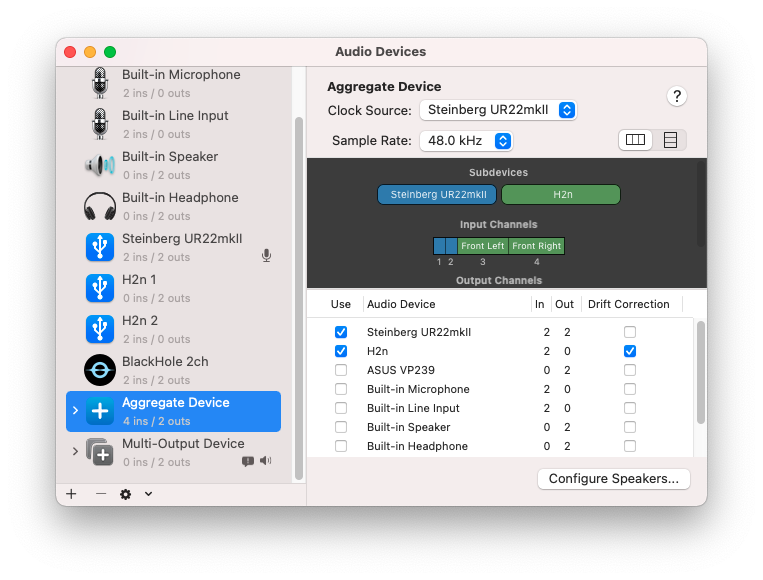
But if you want to use another audio interface to record instruments, MIDI, and other mics at the same time (I personally have a Steinberg UR22mkII for that), you can’t just switch input device in your DAW like this.
Instead, on macOS, I recommend in Audio MIDI Setup to configure an aggregate device that includes both your sound card and the H2n. This way, you can set that aggregate device as input in your DAW and you’ll get all the channels from your sound card plus all the channels from the Zoom!
As I mentioned earlier Royal Jordanian is a famous motorcycle YouTuber, and makes some of the best sounding motorcycle videos out there.
He records mainly with a H2n and that’s the reason I got one in the first place! But if you’re going to record your motorcycle rides with it, you’ll quickly realize that’s not enough information.
Luckily, RJ once made a Q&A video where he shows exactly how he uses is H2n. What I love is that even though it lasts a few seconds, we can see precisely that:
This makes sense, as most of the sound is going to be heard at the exhaust level, which is behind him, and definitely below his chest.

This leaves us with the question of the gain. That’s gonna be very specific to your jacket and your motorcycle in general, so you should do a couple of tests, going at relatively high revs, to see if it’s clipping or not. When in doubt, I would recommend using a lower gain for this as distorted audio from recording a motorcycle engine quickly gets unusable. Maybe start around 5 and go up or down from there!
I’ll add from my personal experience that it’s a good idea to put the
HOLD mode on the right side of the H2n while riding (same button you
use to power it on but sliding it up). This will make sure that any
accidental contact with buttons around the mic won’t stop the recording
or open menus and change random things there.
Lastly, I’ll share with you a small trick that I use when I put the Zoom on a hard surface in front of me, like a table or a desk.
If you just leave it directly on the hard surface, it’ll pick up all the vibrations from it as noise, so it’s gonna be especially bad when you take or put objects on the same surface as the Zoom is on.
To avoid that, I just place a potholder below it. Anything similar should work, like a folded towel. With that, it’s much less affected by interactions with the hard surface, giving you a cleaner sound quality overall!
That’s it for today! I hope that you learnt a thing or two today thanks to this post. Consider subscribing to my YouTube channel where I also share video versions of those articles (and much more). Happy recording!