Detailed recipe to make beer with the Robobrew BrewZilla
June 3, 2021
June 3, 2021
The BrewZilla, previously known as Robobrew, is a all in one brewing system made by KegLand in Australia.
It comes in two sizes, 35 L and 65 L. I myself have the 35 L version 3.1.1.
If like me, you’re coming from more “traditional” brewing, e.g. with just pots, no grain basket, no recirculating and so forth, the BrewZilla can be a tad confusing. My goal with this blog post is to hopefully make it more clear how to brew efficiently with the BrewZilla (both for the beer efficiency and for your own time and energy).
But first, if you speak French, you might want to check out the video I made when I unboxed and first brewed with the BrewZilla!
Otherwise, with no further due, let’s get into this blog post.
This mainly depends on where it is going to be more practical for you to wort chill.
As far as height is concerned, you can leave it on the ground. I tried to put it on a counter at first because I thought it would be convenient to use the spigot, but because there is a pump this is not necessary.
If you want the best of both worlds, so that you don’t need to bend all the way down to use its controls, consider using a chair, that being said even that might be a bit too high to pour the sparge water.
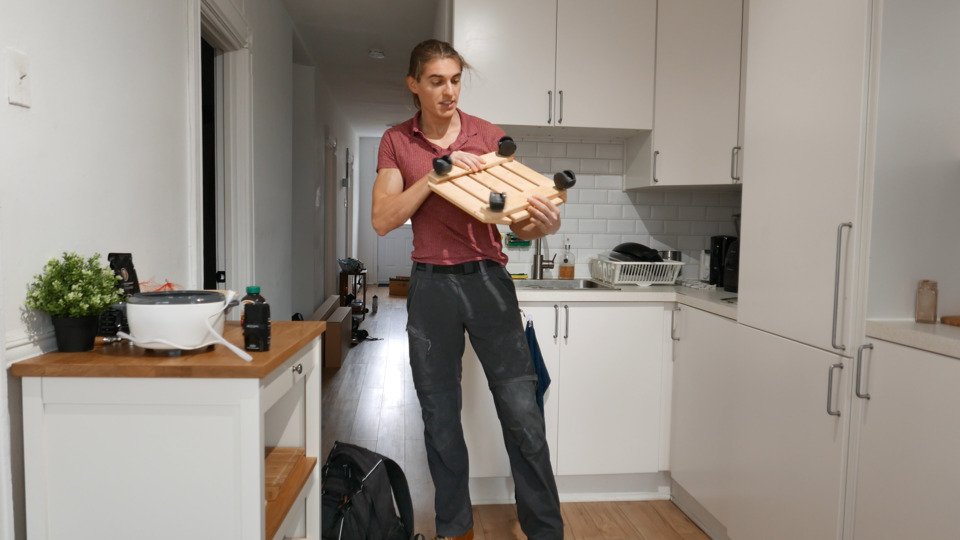
As far as I’m concerned, I’m brewing in my kitchen, and I use a small piece of wood with wheels (not sure of the name, found that at my local brewing shop) to transport it to my bathroom when I need to wort chill, as the shower is the only water input in my apartment that I can connect to a wort chiller.
You don’t need the grain basket to be inside at that point, but I find it convenient to put the bottom screen (the one with the feet) now to avoid having to put it down when it’s full of water.
Fill the BrewZilla to the amount of water you need for the mash. You can use the markers inside to accurately fill it.
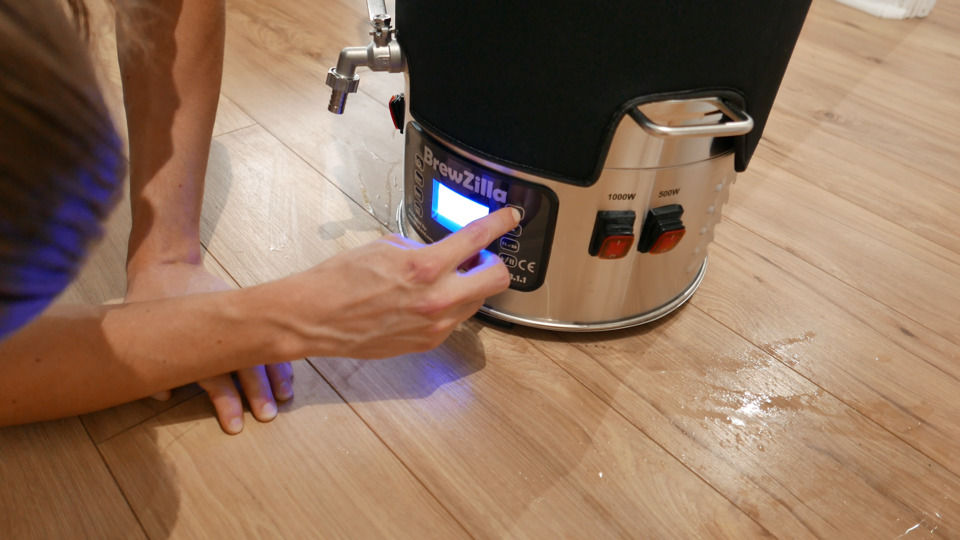
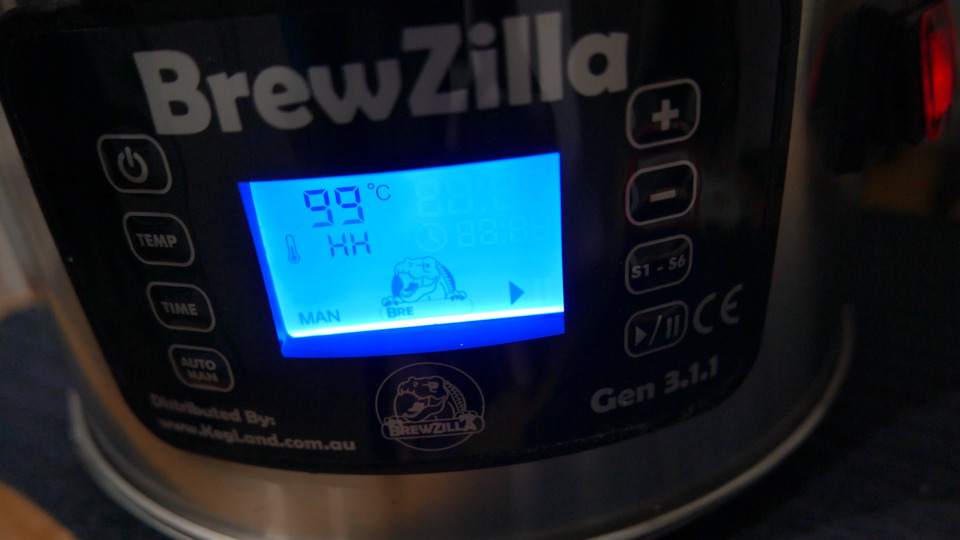
Put the lid on, plug the BrewZilla, and configure your mash temperature. Turn on the two elements with the switches on the side, and press play. Both switches should now activate.
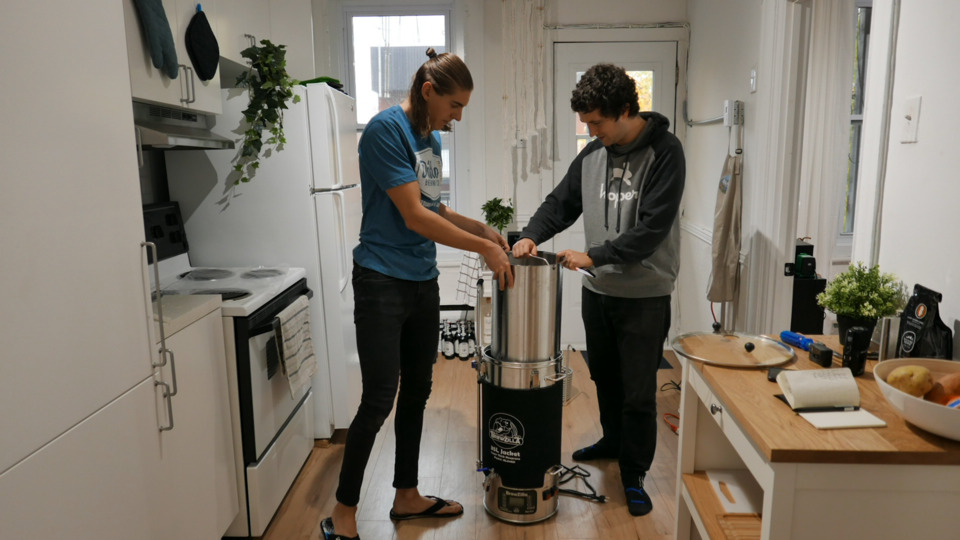
When the water is at the right temperature (keep an eye on it as it doesn’t notify you), put the grain basket in. Your grain basket needs the screwable pipe in place, with the little cap on top.
You can turn off the bigger element (1900 watts for the European model, 1000 watts for the North American one) at that point, as the 500 watts one should be enough to maintain the temperature.
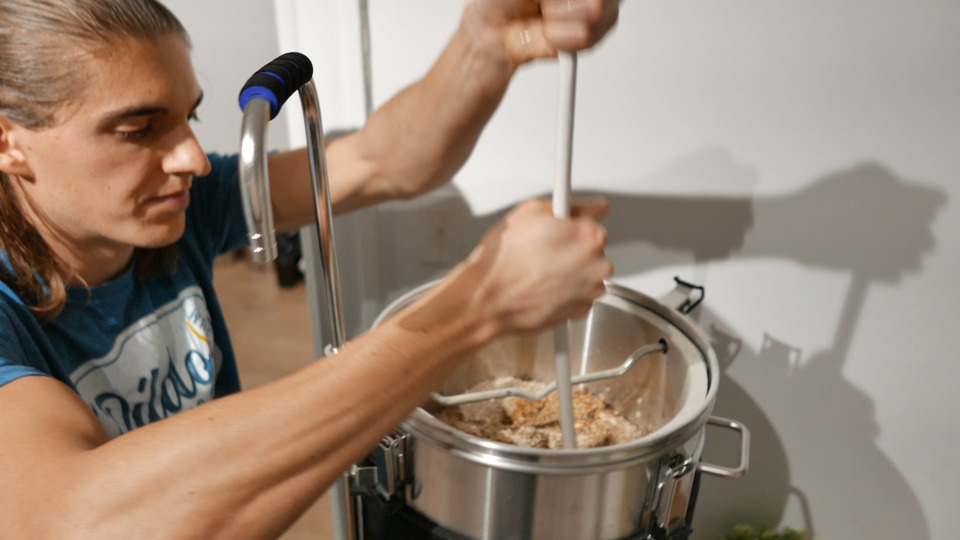
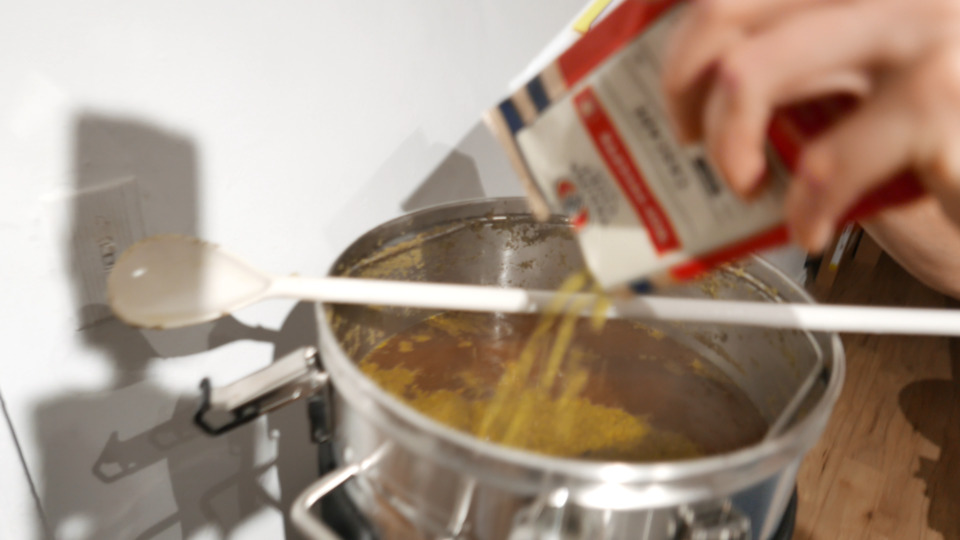
You can now pour the grains. I like to stir them in progressively to avoid to build up a whole “island” of grains on top of the water that is hard to get hydrated.
That being said, you can use the pump to recirculate the wort which can really help getting a consistent mash if needed. Also this is known to make a clearer beer, which might or might not be what you want.
To use the pump, turn the pump switch on. There’s a little valve on the side of the tube to allow you to control the rate of the flow.
If your mash is still really thick after that, it’s probably a good idea to add a bit more water than planned in your recipe to make it more fluid.
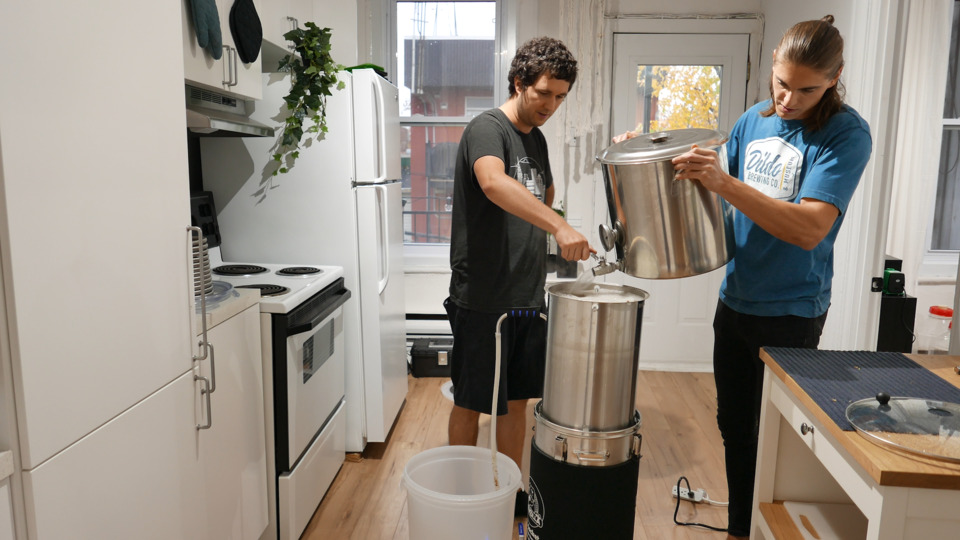
You obviously can’t use the BrewZilla to heat your sparge water, so you’ll need another pot with adequate capacity, that you will heat using other means, like your stove, or a dedicated heater.
Plan accordingly so that your sparge water is at the right temperature when your mash is done to optimize your time.
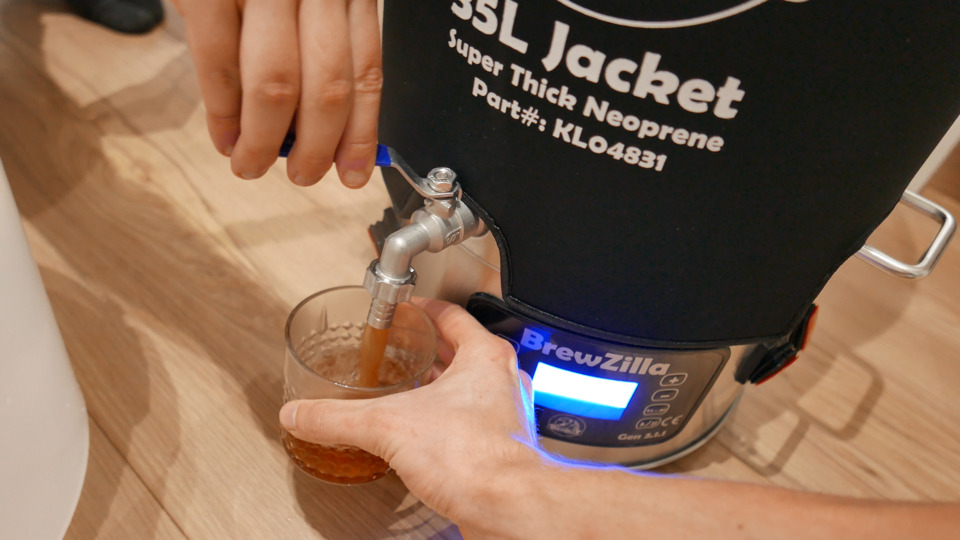
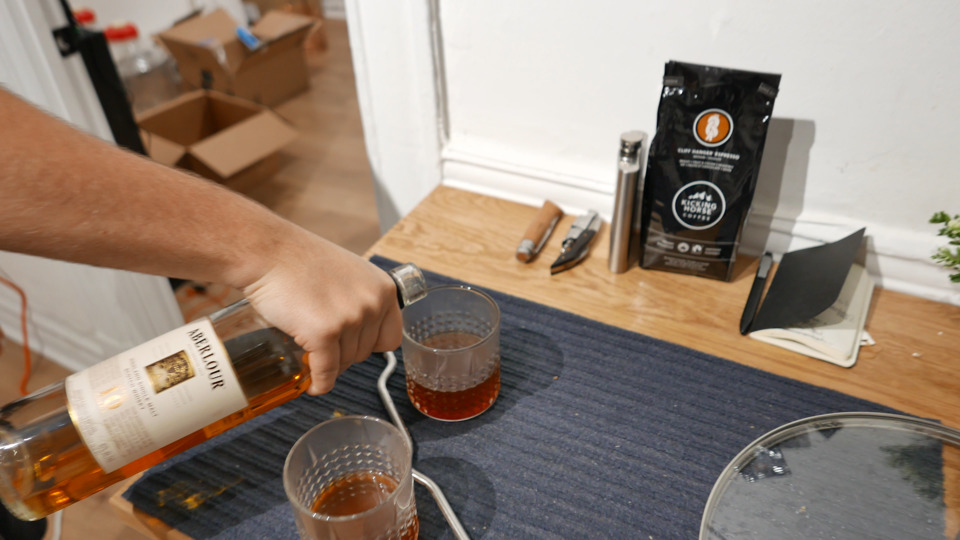
Before you sparge, this is your friendly reminder to have a hot scotchie. If you don’t know about it, use the spigot to fill a small glass with some of the hot wort, and add a drop of single match scotch. You’ll thank me later.
When you’re ready to sparge, lift the grain basket and settle it on top of the BrewZilla by rotating it on the hooks. Let it drain for a couple of minutes.
This is also a good time to start heating for the boil, as it can take a while to reach boiling temperature, so you can also turn back on both elements. If water is getting close to a boil while you’re not done sparging, just stop the elements until you’re ready.
Then, add your sparge water at a rate that keeps no more than an inch or so of water above the grains.
Do not stir the grains at that point, as that would only create channels for the water to go straight down through them without extracting anything.
You can either add a fixed amount of sparge water, or just rely on the markings inside the BrewZilla to reach a certain level for the boil.
Remove the grain basket at the end of the sparge.
If you started heating for the boil during the sparge, you should be close to boiling temperature by now. When you reach a solid boil, you can again turn off the bigger element as the 500 watts one alone should be able to maintain the boil.
Don’t put the lid on during the boil. This allows DMS out which is considered a good thing for the taste of your beer. That being said I’ve put the lid on for many brews before knowing that and my beers tasted delicious nevertheless, so don’t overthink it. But you certainly don’t need to bother keeping the lid on for the boil.
Add your hops accordingly to your hopping schedule.
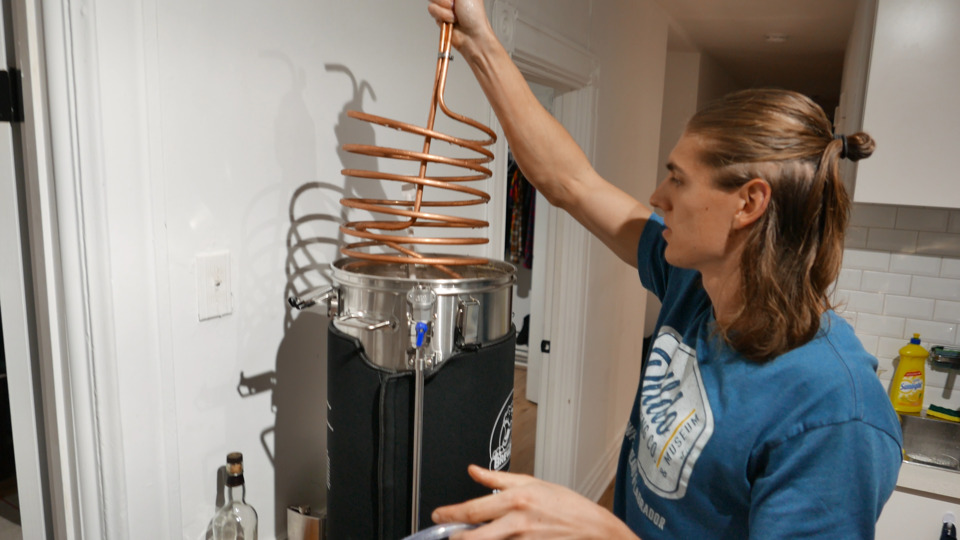
5 minutes before the end of the boil, add your wort chiller inside in order to sanitize it.
Run cold water through your wort chiller to reach a temperature that’s acceptable for the yeast that you’re going to use.
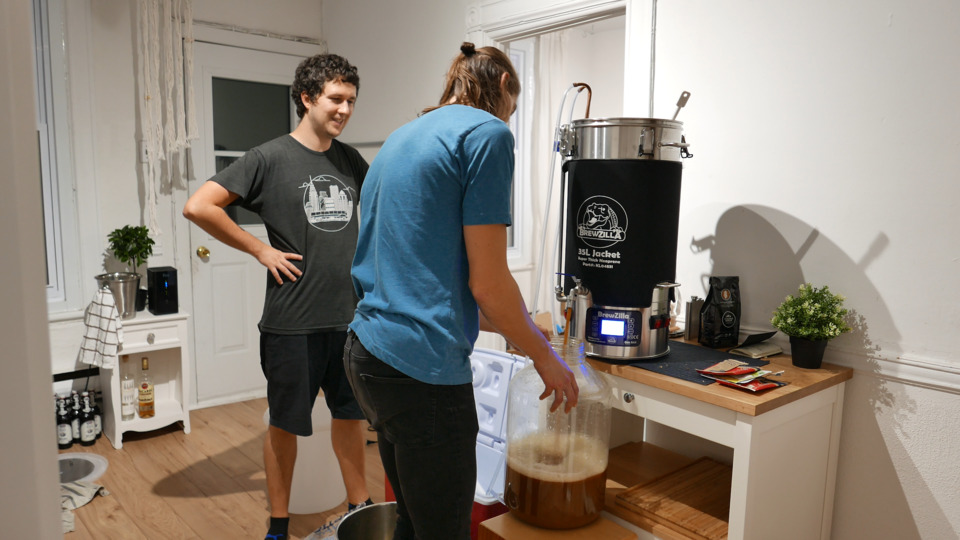
Assuming your BrewZilla is still on the floor, use the pump to transfer the beer to the fermenter. Make sure to stop the pump before it runs dry.
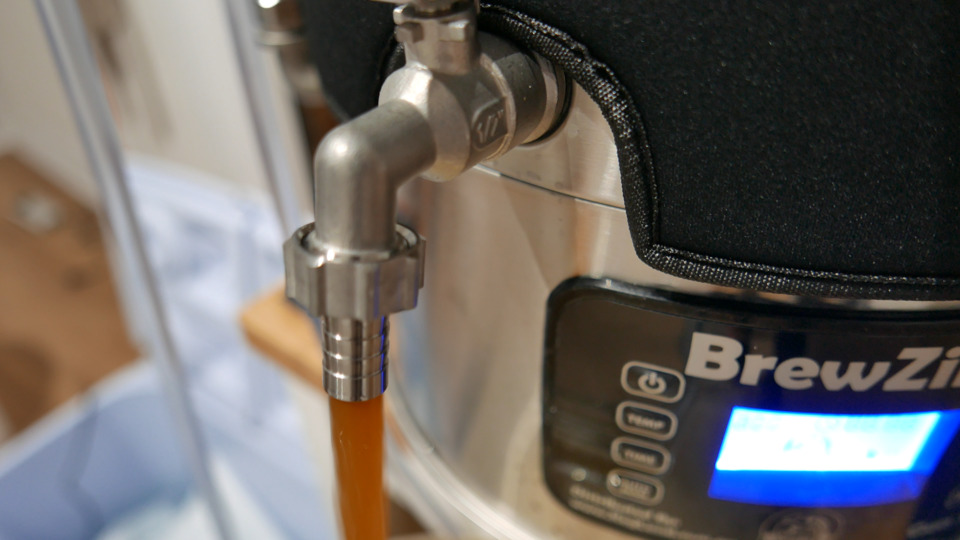
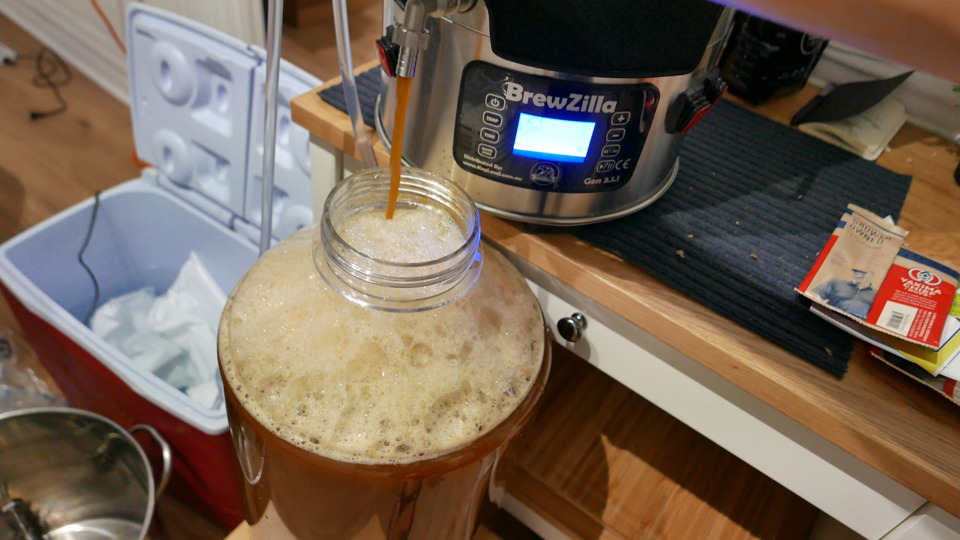
If you still have room in your fermenter by then and you want to make sure you don’t loose any of this delicious beer, you can lift the BrewZilla, incline it, and use the spigot to get the last drops.
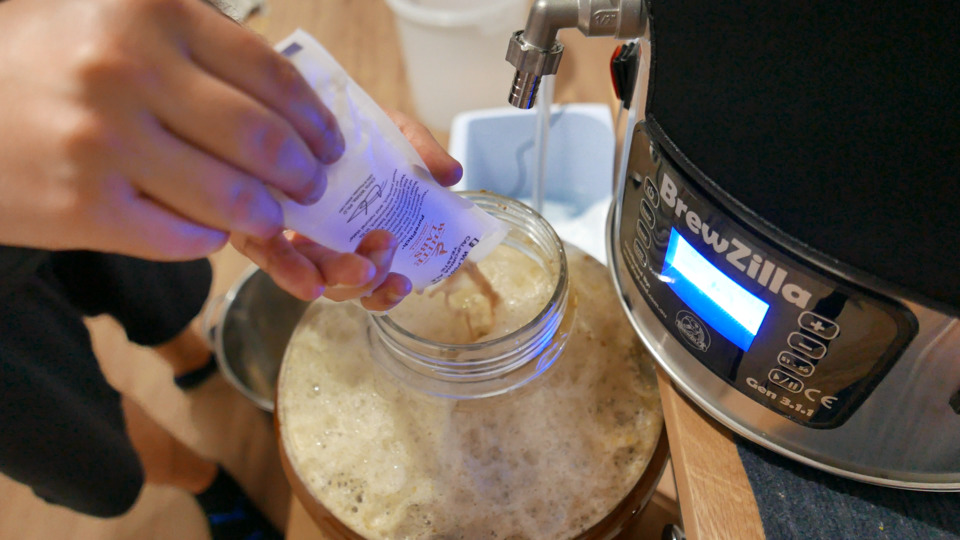
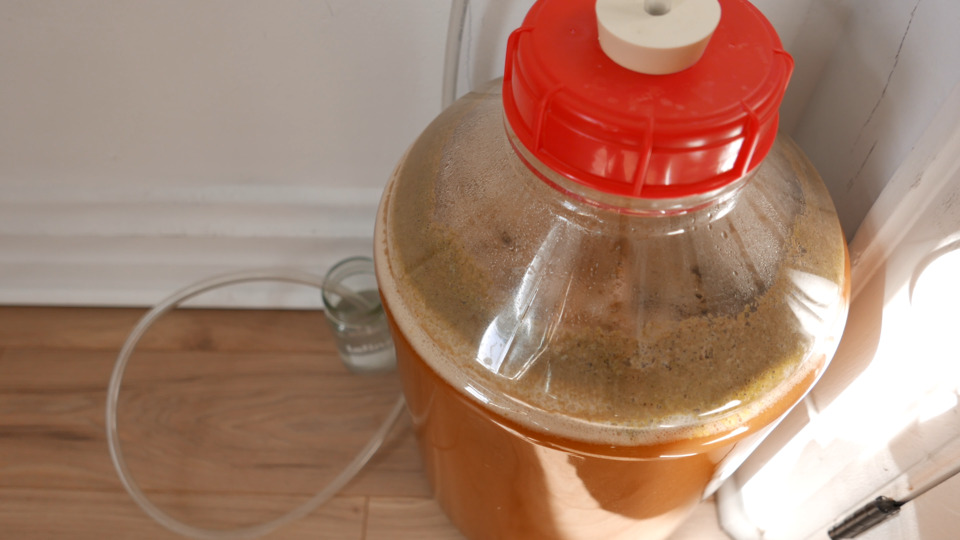
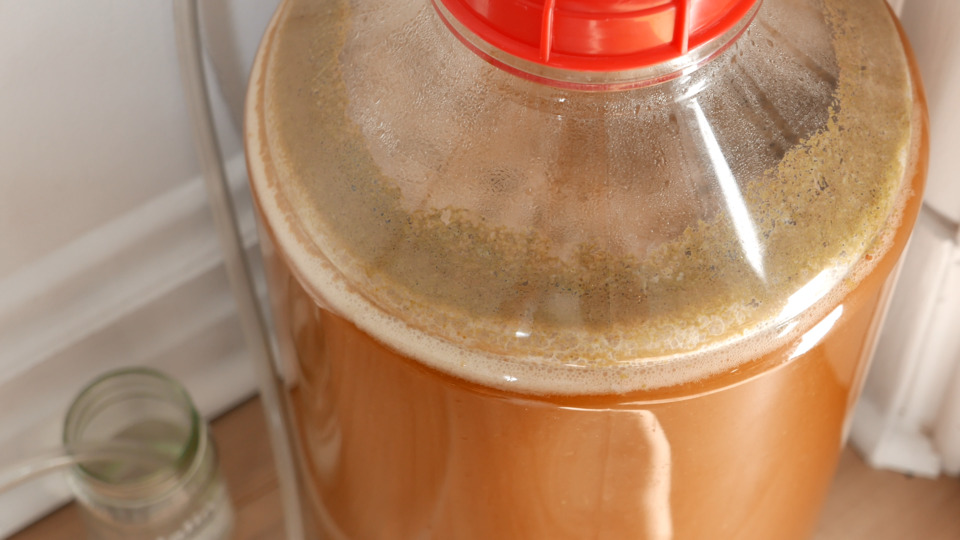
You can now pitch your yeast, put an airlock or a blow off on, and you’re done for the day! Well, nearly.
At that point I unplug the BrewZilla, remove the bottom screen (that I wash separately), put it in my bath tub, and shower the inside of it. Using the side handles, I drain it, and I repeat a couple of times, possibly scrubbing with a sponge if needed.
When it looks clean, I fill it with a bit of water and I run the pump to make sure the inside of the pump is clean as well, and I do the same for the spigot.
The BrewZilla is an awesome brewing tool, but it’s not always necessarily obvious what’s the most optimal way to use it. I hope with this post everything about using the BrewZilla is more clear to you, and that it’ll help you make delicious beers.
Cheers!